


with these types of images it makes everything look so much bigger than it actually is.


 as you can see the rule of thirds has been used on the object in the top right hand corner.
 the rule of thirds has been used in the top right hand corner.


 this image was taken on a wide angle at 18mm zoom which doesnt make the image look how it would in real life. As you can see the head of my model is out of preportion and is bigger than it should look.
 this image was taken on a standard 55mm zoom this makes the image look how you would see it in real life. As you can see in the image every part of my models body is flat and correct which is how it would look in real life.
 Direct sunlight
 flash
flash cloudy
 shade
shade direct sunlight
 flash
flash cloudy
 shade
shade this was taken on the ISO setting 100
 this was taken on the ISO setting 800
 This was taken on the ISO setting H2
 this image is very strange because of the shutter speed it is taken at, it is taking at a longer shutter speed than you would normally take. This image is taken on a shutter speed of around 1'' or 2''.
  This image is taken at a quicker shutter speed to capture the whole image in full flight, this is taken at a shutter speed of around 1/800 of a second.
 to create this image you will need to use a pan shot this is simply following the car as it goes past to get the image, using a fairly average shutter speed.
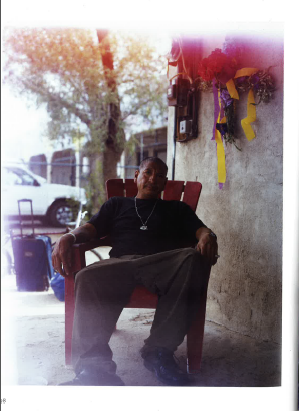 Shallow depth of field.
 Greater depth of field.
 As you can see in this image everything is in focus which means it has a high 'F' number which creates a greater dept of field.
 As you can see in this image only the reflection at the top of the bin is really in focus, this means it has a low 'F' number which cresates a more shallow depth of field.
 this image is over exposed which has let in too much light. This could be improved by adjusting your shutter speed to a quicker speed.
 this images exposure is just right and has let in the right amount of light.
 this image is under exposed and hasn't let in enough light. This can be improved by slowing down the shutter speed.


